Adding Org Details to a Scheduling Org Level
After you've created a scheduling Org Level, you need to add an Org Detail for each of the "units" you want to create for scheduling purposes. It might help to think of the units as position groups. For example, you might create a unit called Accounting. You must keep in mind that you must create some units that will only contain employees with self scheduling capability. In other words, you cannot create a unit that will have some employees who can self schedule, and others that can't. One of the later configuration steps will be to make some units active for self scheduling on the Self Scheduling Setup window. Only employees that you want to be able to self schedule can be included in those units.
To add Org Details to a Scheduling Org Level
- Open the Administration menu and then the Structure window.
- Open the Org Levels tab.
- Select your scheduling Org Level from the Level list box.
- Click Add.
- Type an abbreviation for the Org Detail in the User Code box.
- Enter a full name for the Org Detail in the Description box.
- Type an Accounting Code if required.
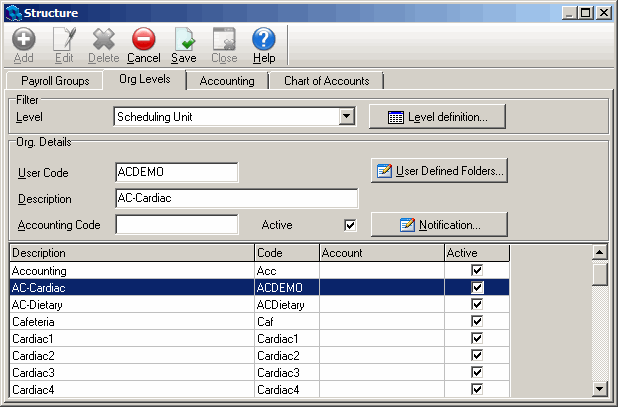
- If you want to attach a UDF to the Org Detail, click the User Defined Folders button.
The Org Detail User Defined Folders dialog opens. You can go back and add a UDF to an Org Detail at any time by clicking on it in the Org Details pane, and then clicking the User Defined Folders button. - Click Add.
- Select a UDF from the User Defined Folder list box.
- Select values for the UDF attributes that appear in the User Defined Folder Attributes pane.
- Click Save.